Well its January again, and I'm finally finding time to put up some gardening posts. I just sent away my seed order, hopefully Fedco will be able to read my writing despite all the drool. I just cant help myself with seed catalogs. I go crazy. I try to practice frugal living, but
always overspend on seeds. Like a kid in a candy shop. I think I ordered 7 varieties of tomatoes. SEVEN. Seriously? I have a problem.
So here are some photos and lessons learned from the Woven Willow Veggie garden of 2014:
This year we expanded the garden a bit and put a nice cedar post fence around it. We don't seem to have a deer problem yet, the fence was mostly for my toddler who loves to stomp on seedlings.
I generally do block planting because I like the impactful, compartmentalized look of it. Plus its easy to have raised beds that way. And, since I'm not good at keeping a record, Its easier to remember what went where for the sake of crop rotation. I am a huge fan of raised beds for a couple reasons. One, I live in coastal Maine, zone 5b, where we have an annoyingly short growing season. Raised beds are higher and they thaw faster in the spring. Two, for some reason they seem to have much fewer pest problems, and when they do have pests, they are easy to segregate with netting or row cover. Three, they are slightly easier to plant and weed since you have to bend down a bit less. I have a trusty stool that I keep in the garden and it works great.
This year we also put in wood chip paths. When the treec-cutter guys went by in their big limbing truck, I flagged them down and gave them some freshly baked blueberry muffins. In return, I got 5 yards of free woodchips delivered to my driveway. YES! The jury is still out on whether this was a waste of time. I am always looking for ways to cut down on unnecessary work and I figured some black plastic weed mat and cardboard with wood chips on top would remove my need to ever deal with the pathways again. Not so. Under the plastic and thick cardboard and 6 inches of woodchips was crab grass. Crab grass would survive a nuclear apocalypse. All was good until two months later when I found that I was weeding the damn paths almost as much as the garden. I might revert back to mowing but I haven't decided. Certainly not round-up. Monsanto has no place in my garden.

Here is my first attempt at growing melons. It worked, kind of. I didn't pay enough attention to them and I got a couple this size, then a vole or something came and hollowed it out.\
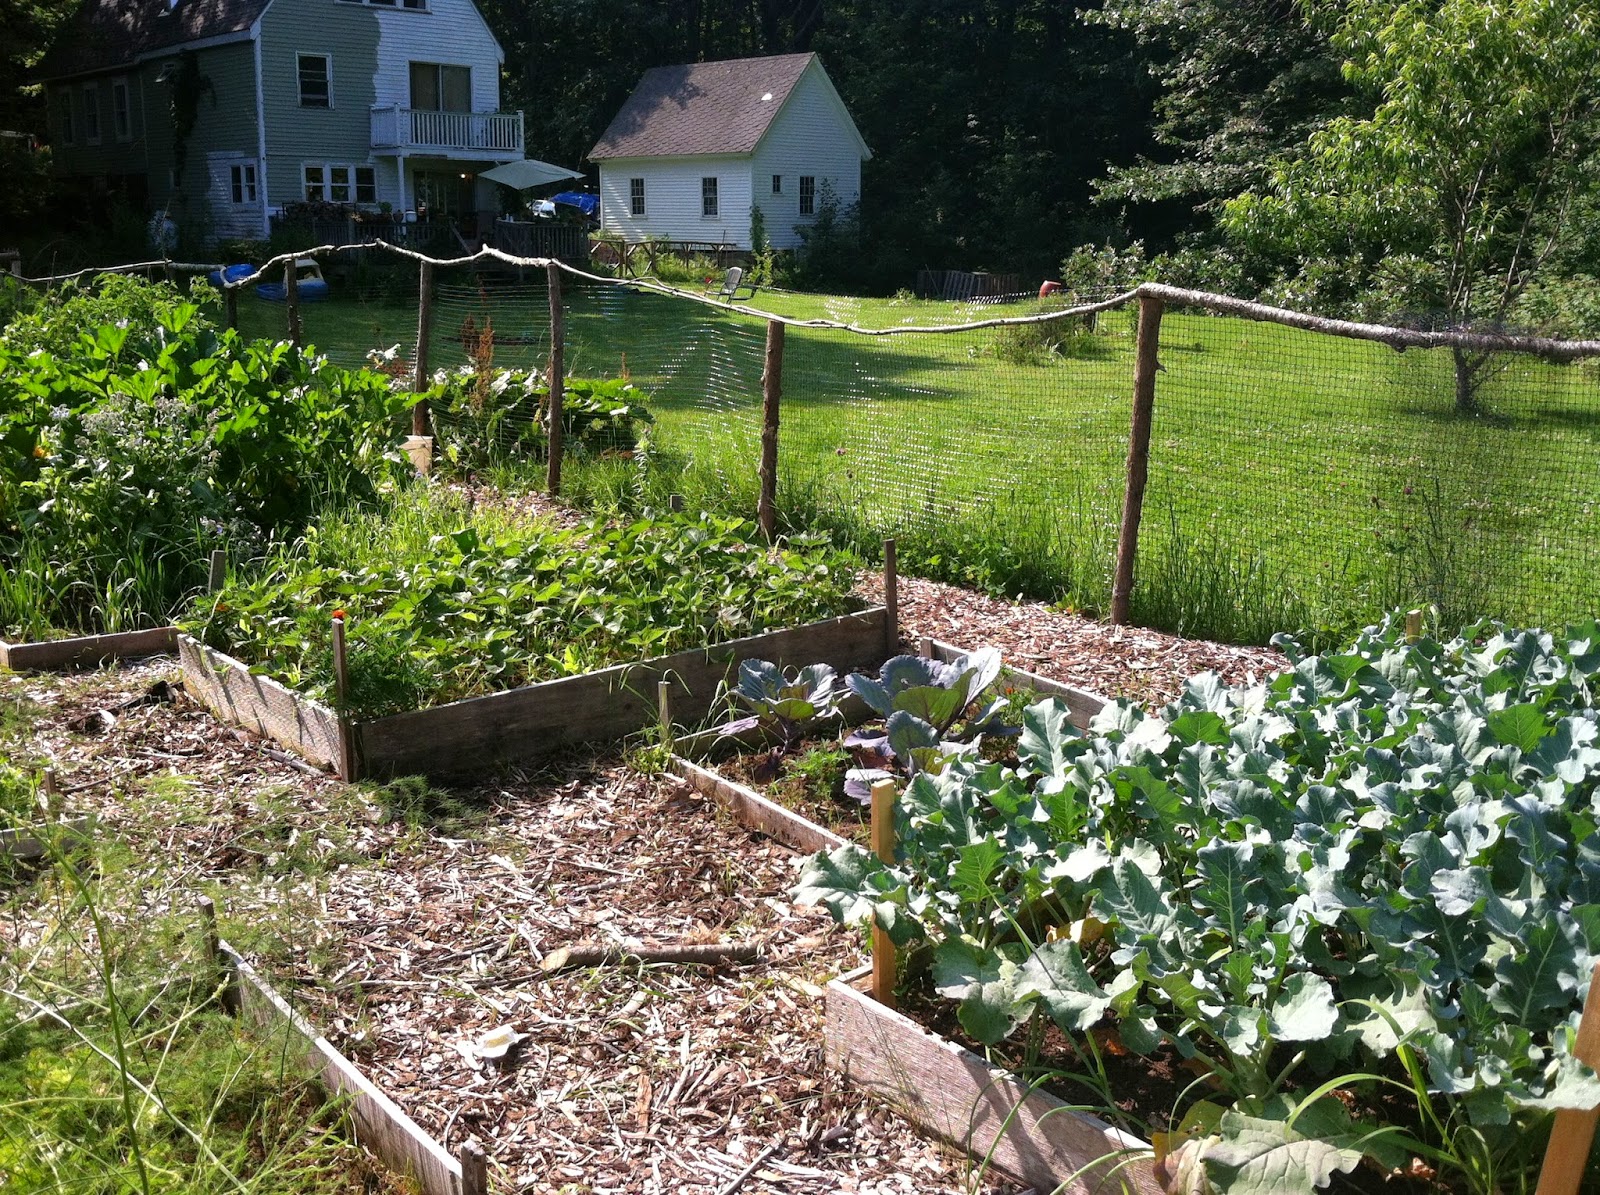
Brussels sprouts in June.
Borage. I LOVE this plant. Its easy, gorgeous, edible and it attracts tons of beneficial insects. It reseeds, too. Good companion for tomatoes. I also interplant marigolds all throughout my veggie garden. They are a cinch to grow from seed, transplant well, deter pests and when the garden is looking all tired in September, they are huge and in full swing. Same with Zinnia and cosmos.
Husk Cherries! Aka Ground Cherries, Aka Pineapple tomatillos. These are natures candy, I do not understand why they are so obscure. They are freaking delicious. They take some patience to start from seed but once established, they produce like crazy. Great toddler food. Keeps them busy for ages while they take each little fruit out of its house.


The two photos above show my tomato experiment, at least the early part of it. If I had taken later photos, you would easily see which method won. The one above with the 2x4s is what I will be sticking with. The idea is that you build a tall STRONG frame and plant your tomatoes beneath it. As they grow, you prune them to a single stem, clipping all the suckers from the crotches of the leaves. Then when they are about a foot or so, wind a string loosely around the base, and wind loosely up the stalk and tie the string way above to the support. Then as the plant gets taller, wind the plant around the string so it climbs. Works great, no messy crowded cages and its easy. Word to the wise: Unless your growing only a few tomato plants and they are light ones, like cherry or grape, don't get cheap and lazy like I did in the second photo. That flimsy twig structure served the same purpose but flopped over way before the tomatoes were even ripe. Fail.

Last lesson I will impart to you for summer of 2014: If you are growing beautiful squashes, like these tasty, buttery Sebring Zukes and you see groups of little copper colored eggs on the underside of the leaves, DONT just spray them with safer soap and call it good like I did. Those eggs, as I later found out, belong to the dreaded squash bug, the likes of which I had never seen before. If I had DESTROYED them the second I saw them, maybe a single one of my squashes would have survived. Instead, they took over every squash plant in my whole garden, armies of these little gray aphid looking things that grew into huge gray stink bug looking things. They suck the sap from the vegetation and cause the plant to wilt and die, then they attack the fruit. And they multiply like crazy. I hate them, hate them, hate them. They caused me to have to
buy zucchini. From the grocery store. In AUGUST. With money. Ugh.


